

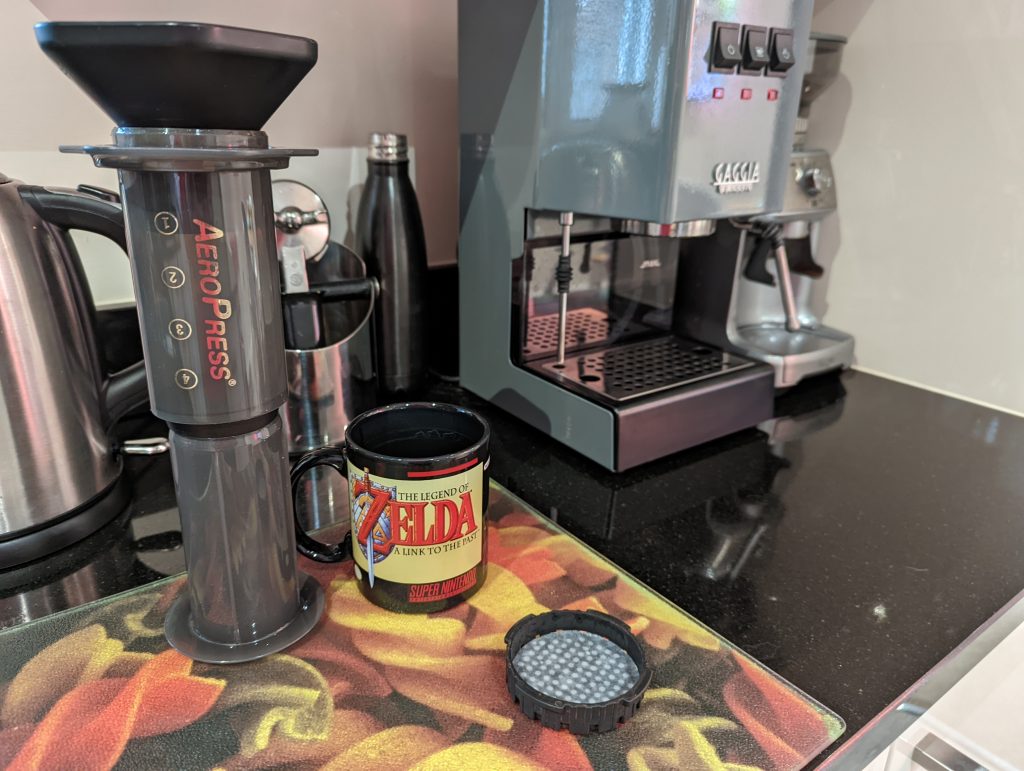
It might be a new site, but dyingartmedia.com is fuelled on caffeine just as much as the last one…..possibly even more so! And whilst there’s plenty to dig into. It seems that we should start coffee-based proceedings properly and share our recipe to get the best out of your Aeropress.
Between the Aeropress and the Hario V60, you have some pretty great, cheap and simple options to brew decent specialty coffees, whenever you like. Better still, you can even buy a portable version of the Aeropress, should you so desire (it’s been on our wishlist for ages!).

What is the Aeropress?
Just looking at one, you can absolutely be forgiven for thinking it’s something complicated and borderline scientific. But it’s not tricky at all, which is what makes it so perfect. Aa plastic tube, a plastic filter holder. A plastic plunger with a thick rubber stopper. That’s it. Add coffee and water.
The plunger forces coffee through the filter using just air pressure. It’s really cool.
The Aeropress is quick and easy. But better still, it’s one of the best possible ways to make yourself a drip-style coffee. Make sure to use un-bleached paper filters, where you can. But if you opt for a metal filter (much more re-usable!), it doesn’t massively impact the taste.
The quick breakdown
- Method: Inverted (because we like to live dangerously… and it tastes better).
- Coffee: 15g (Medium-fine grind—think table salt).
- Water: 250ml (Off the boil, around 90°C).
- Brew Time: 2 minutes 30 seconds..
The Recipe
1. The Pre-Game (Setup)
Push the plunger about 1cm into the chamber and stand it upside down (plunger at the bottom). This is the Inverted Method. It gives you full control over the immersion time, ensuring no coffee leaks out before you’re ready. It’s not the traditional, recommended method, but it makes it so much easier. Do be careful at the last “flip” stage, though.
2. Prepare the Filter
Place a paper filter into the black cap and rinse it with hot water. This removes any papery taste and pre-heats the cap. Think of it as clearing the cache before a big patch.
3. Load the Goods
Add your 15g of freshly ground coffee into the chamber. Give it a little shake to level the bed—you want an even playing field for the extraction.
4. The Bloom (0:00 – 0:30)
Start your timer. Pour in about 50ml of water (just enough to soak the grounds). Give it a gentle stir. This lets the CO2 escape, preventing “bloat” and making sure the water can get in there and do its job.
5. The Main Quest (0:30 – 2:00)
Pour the remaining water until you hit 250ml. Give it another quick stir to make sure everything is submerged. Now, screw that filtered cap on tight.
6. The Flip & Finish (2:00 – 2:30)
At the 2-minute mark, carefully flip the AeroPress onto your favourite mug. Now, apply steady, gentle pressure. You’re looking for a slow plunge that takes about 30 seconds. Stop as soon as you hear the hiss—that’s the signal that the mission is complete.
The hiss is just the air passing through the filter, from the gap between the coffee and the plunger.
How does it taste?
Too Bitter? Your grind might be too fine, or your water too hot. Back off, by coarsening the grind next time. Aim for a medium-fine grind. In fact, off-the-shelf ground coffee tends to be pretty suitable.
Too Sour/Weak? You’ve under-extracted. Try a finer grind or let it steep for an extra 30 seconds to get that full body.
The AeroPress is incredibly forgiving. Once you’ve mastered the standard build, start experimenting. Try different coffee/water ratios or even metal filters for a heavier mouthfeel.


Pingback: Coffee Review: Red Bull - Cold Brew Coffee Flavour - Dying Art Media